Posts filed under Beauty & Wellness

High Brow: Mastering the Art of Your Arch

Let's Talk About Brows

Brows have been a big topic of conversation amongst our team lately. In the last few years new brow products have flooded the market. What happened to just tweezing, waxing or threading? Now it's all about fullness and framing with gels, powders, amplifiers!

Starting With The Basics

Wanting to learn more about how to make the most of our natural brows, we popped into Benefit Cosmetics on Fillmore Street last week for a quick tutorial. One motto Megan loves is to keep in mind is that your brows are sisters, not twins. They don't have to be identical, few people are completely symmetrical so work with what you have. 


Megan's Natural Brow

Megan's Amplified Brow


Three Steps to Fuller Brows

Joseph (who helped us and was AMAZING) and gave us these tips:

  1. Start by adding a little bit of their High Brow Pencil or a light shadow just under the arch of the brow to highlight it.
  2. Then use Benefit's Gimme Brow or a shadow of your choosing to fill in and volumize the brow. Start in the middle of the brow, work your way out when filling in with color and then apply at the inner eye.*
  3. To finish off the look lightly outline the bottom and top lines of the brow with the Goof Proof Eyebrow Pencil to give them a more defined shape.

*Pro tip: You want your brows to be the darkest at the outter edges and lighter at the inner eye creating a soft ombre effect.  


Kimberly's Natural Brow

Kimberly's Amplified Brow


You can be the judge on the results -- but we have definitely become brow converts! The great part is that it only adds 60 seconds to your morning makeup routine.

Stay Stylish,
M&K

Posted on November 29, 2016 and filed under Beauty & Wellness.

Nailing It: Fall Shades We are Loving Right Now

Kimberly's F/W shade selection (LT to RT): Deep Purple (Carry On ), Burgundy Red ( Maki Me Happy), Dusty Rose (Angora Cardi ), Soft Pink (Mademoiselle), Soft Grey/Blue ( Petal Pushers)

Change your Palette 

A few weeks ago I wandered into my local Walgreens in search of a change. The high temperatures this Spring/Summer cooked my existing polishes at home and the remainder were around four years old so I did a major purge (most nail colors should be tossed every two years or when they start to separate). It felt nice to start fresh and be intentional with what I had in my collection.

Look For A Variety of Classic and Bold

Above is a snap shot of what I ended up with -- I love that all the colors flow well and are neutral enough to go from Thanksgiving through Valentine's Day without getting too boring. I stuck with Essie because they were doing a buy two get one free promo. For a guide on our favorite healthy polishes or local salons read more in our blog from last spring.

Polish Tips:

  1. Start with the Basics: Invest in 2-3 go to shades that stretch from neutral to bold

  2. Test Colors on Your Nails Before Buying: Shades in the bottle look much different than in real life. Make sure you test that it sits well with your skin undertone.

  3. Invest in a Good Base Coat

  4. Get a Healthy Remover 

Stay Stylish,

K&M

Posted on November 10, 2016 and filed under Beauty & Wellness, Style Tips.

11 Ways to Repurpose Your Old T-Shirts

There's Nothing Better Than An Old T-Shirt

We all have it - a drawer filled with old t-shirts that we love but can't wear anymore. They're comfy, soft and hold a certain sentimental value. You can't get rid of them, so what do you do?

Huffington Post has solved that problem by illustrating 11 Genius Ways To Breathe New Life Into Old T-Shirts.

Ways To Repurpose Your Favorite Tee

Instead of having your neglected tee take of prime space in your closet or dresser, you can breathe new life into them by getting crafty. A few of our favorite suggestions include creating a t-shirt tote bag, DIY braided strap sandals and turning old band shirts into throw pillows.

Repurposing Clothes Helps Reduce Waste

This fun article is part of Huffington Post's "Reclaim" series, which focuses on reducing the world of waste and being a smarter consumer.  If you haven't taken a look, the articles are fantastic and range from eco-friend lunches to 10 pieces of clothing you should never throw away

Stay Stylish,
K&M


Posted on September 19, 2016 and filed under Beauty & Wellness.

The Best & Worst Ingredients in Skincare Products

How Healthy Is Your Skincare?

Your skin is the largest organ of your body. So it makes sense that we should be monitoring the ingredients in the products we put on it. After Megan shared her new favorite organic skincare must-have, we decided to do a little digging to see how healthy the products in our skincare regime really are for us.

The Best and Worst Ingredients In Skincare Products

This article on the benefits of organic skincare is a great reference for what you definitely want to see in your skincare products and what ingredients you should avoid (including mineral oil!). Plus, it lists the top 3 ingredients that are the best for your skin.

Stay Stylish,
K&M

Posted on September 8, 2016 and filed under Beauty & Wellness.

Organic Skincare: Megan's New Favorite Toner

Organic vs. Regular Skincare

I'll admit it - I love a good skincare product. More and more I've become aware of what goes into the products that I put on my skin, and am trying to keep it organic where I can. 

After running out of my usual MAC skin brightening toner, I decided to do some research and apple cider vinegar kept coming up.  I've heard a lot about ACV and will often add a tablespoon to warm water as a morning detox. But I'd never tried it on my skin as a toner. 

Benefits of Apple Cider Vinegar

Apple cider vinegar toner is known to balance the sin's natural pH, lighten sun and age spots, improve acne and remove excess oil and dead skin cells. After using it twice a day for a week, I am sold! The acidic smell takes a bit to get used to, but my skin is noticeably brighter and feels firmer. I did break out a bit the first few days as it cleared all of the old dirt and oil from my skin.

If you want to try this yourself, here is my recipe:

DIY Apple Cider Vinegar Toner:

  • Mix 1 part ACV with 2 parts filtered water 
  • For sensitive skin, mix 1 part ACV with 4 parts filtered water
  • With a cotton ball, gently rub over clean skin
  • Follow with your normal moisturizer
  • Toner can be stored in your medicine cabinet

Don't Forget To Moisturize

If you are looking for a good organic moisturizer for fall, I highly recommend organic coconut oil. Don't let the oil part of it scare you, it's perfect for cold weather hydration!  Your skin soaks it up and you will wake up with instantly softer skin that over time will have a more even tone and less redness. It's also great for chapped lips or as a natural conditioner for hair.

Stay Stylish,
M&K

Β 

Β 

Β 

Β 

Β 

Β 

Posted on September 6, 2016 and filed under Beauty & Wellness.

Argent: Maker-Girl Crush Monday

Starting the week with another local brand to watch, Argent.  Megan and I recently heard of this new Bay Area based company, and love their mission of creating functional workwear for women. A few weeks ago we got to check out their collection in person at an evening gathering at their pop up shop in Shinola Jackson Square. 

Their attention to design details impressed us (who doesn't love hidden pockets and badge loops?!).  Below are our favorite statement making blazers that dress down easily with a pair of jeans or dress up a smart pair of slacks or statement sheath. Want to know a little more? Here is an insightful article featured in Vogue that breaks down their mission. We look forward to seeing where the team takes the brand next, keep an eye on Argent!

Stay Stylish,

K&M

Posted on August 29, 2016 and filed under Beauty & Wellness.

Case of the Counterfeit: Why We Say No To Fast Fashion

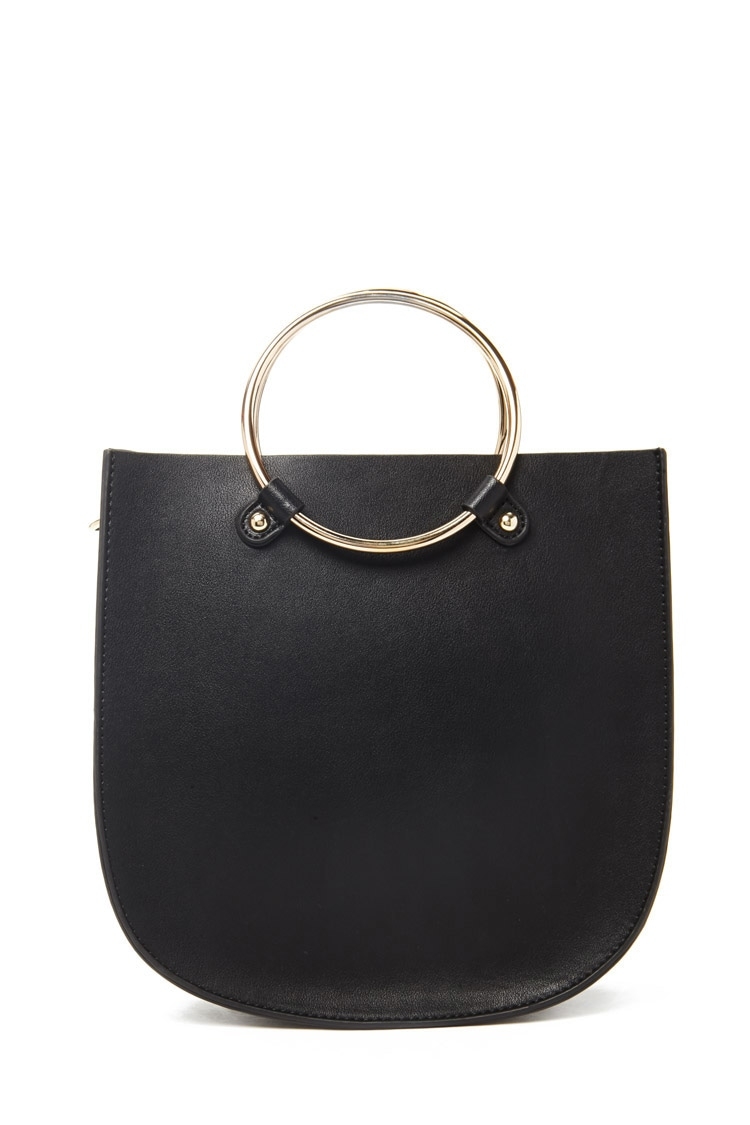
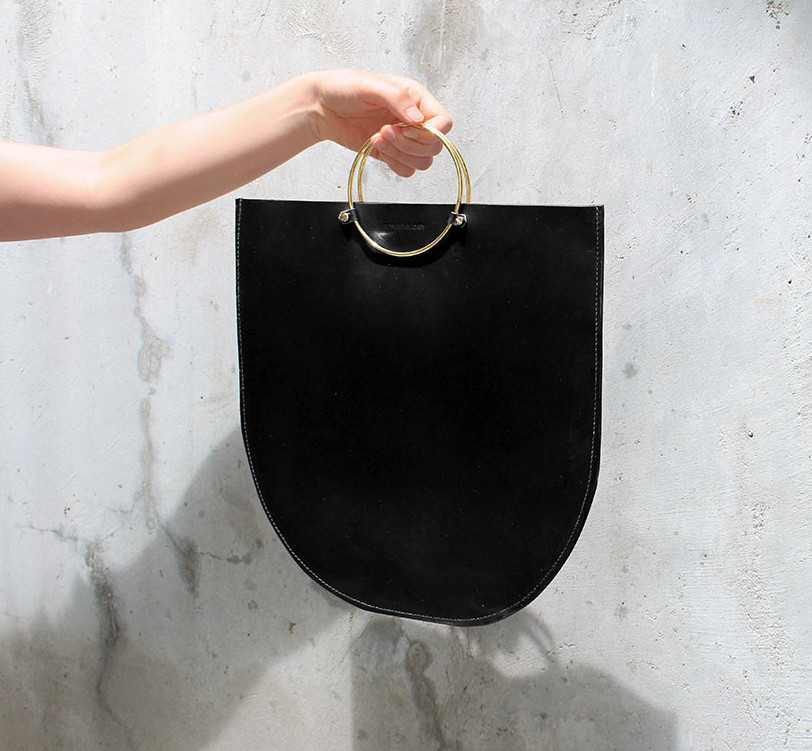
On Monday we blogged about our girl-crush on Future Glory designer and all-around awesome female entrepreneur Theresa Lee. So you can imagine how upset we were to see that Forever21 knocked off two of Future Glory's Bags.

Here is an example of one knock off.  Future Glory's Rockwell bag

The Temptation of a Cheap Thrill Has A Cost

We thought this is a perfect example to share why we don't promote fast fashion. While the slim price tags and on-trend styles can be tempting, fast fashion ultimately is taking money away from people who put a lot of time, energy and heart into designing products they love. And in the case of Future Glory, who gives a percentage of each purchase to local women's charities, it's taking money away from our community.

Knowledge Is Power: Know What You Buy

Now to be clear, we aren't perfect and have bought the impulse piece from H&M or Forever21 in the past. But the more we've learned, the more we've stayed away. The True Cost is an incredible documentary about the effects fast fashion has on people, communities and our environment. It's available on Netflix and you won't regret watching it.

Design inspiration is part of fashion and the creative process, but putting your name on someone's exact design is shameful. And to our friend Theresa - they say that imitation if the highest form of flattery, but we say Keep It Real and purchase with power.

Stay Stylish,
K&M 

Future Glory: Maker-Girl Crush Monday

Inside the studio work space, Theresa utilizes every corner. 

For the next few weeks we will be sharing with you some of our favorite local #girlbosses--whose commitment to creating better companies and better brands are a hallmark.

Locally Made Bags with a Purpose

Our first pick is a local SF based bag company who has been making waves in national style magazines. If you haven't heard the name Future Glory, get ready for your new bag obsession.

We love that Future Glory's mission statement is as beautiful as their designs. Theresa Lee, founder and designer, has established a San Francisco brand that mixes design and philanthropy. A portion of every purchase is donated to local organizations dedicated to rebuilding the lives of woman. 

Future Glory specializes in leather goods, but also uses other materials, such a Pendelton wool and printed canvas, for their bags. 

We last teamed up with Theresa earlier this summer when she brought her oh-so-covetable purses to include in one of our photo shoots. Long time fans of her work, we jumped at the invitation to visit her Dogpatch design studio.


More than Just the New "IT" Bag

The Rockwell Mini (which has been featured in Vogue, Elle and InStyle), $295

Theresa has an energy that is infectious, but also an insight that can make her feel wise beyond her years. Originally a design guru at DodoCase, she decided to take that leap of faith and build a brand of her own with a co-founder. Even after so much success with Future Glory, she still maintains a humble approach and wants to make sure that the brand always stays true to its SF roots and mission. 

Each bag feels special, because it has been lovingly created in her studio by a small team of skilled craftspeople. Megan swooned endlessly over the marbled leather pieces, while Kimberly's favorite is the stylized Sienna. 

Just a few of the tools that go into handcrafting each bag.

Our Favorite Fall Picks

Here are our top three pics for Fall 2016. The marbled Midi is perfect for day or night and punches up a t-shirt and jeans with sophistication. The Sienna Mini was a complete scene stealer during our Taylor Stitch photoshoot this summer.  The fringe design continues to shine this season and transitions into fall in the perfect cognac shade.  If you are looking to make a larger statement, the Sienna will carry you off to your next meeting with all the essentials in check.

Keep tabs on this Brand, for Theresa and her team at Future Glory, the future looks bright.

Stay Stylish,
K&M

SF Summer Picnic: Fresh, Easy and Irresistible Recipes

This past June, Megan and I hosted some of our favorite boss ladies for an al fresco lunch. Planning anything outside during a "San Francisco Summer" can be a bit of a gamble, but we knew our gals were tough enough and planned a set up and menu that would be warming. 

Here are a few tips and easy summer recipes that will make your next picnic a success sunshine or fog!

Stay Stylish,

K&M


GEAR NOTES

  • The key to making an event a success is keeping it simple. We've partnered with Paperless Post to make hosting a snap. Personalize your own beautiful invites (it may be hard to pick just one design).
  • Choose a thicker table cloth to add another layer of warmth to the table. We used Megan's Pendleton wool blanket over the table which kept everyone just a little more comfortable.
  • Provide a few extra blankets or quilts for guests if Karl rolls in unexpectedly.
  • Invest in a good waterproof backed picnic blanket if you'll be setting up on the lawn.
  • Keep It Real: We served everything on salad plates and used silverware and cloth napkins. It may require more packing and clean up, but it's better for the environment, easier to eat with, and it adds a little lux to the meal.

MENU

  • Roasted Veggie Couscous and Tumeric Chicken
  • Arugula Fruit Salad with Apricot Stilton Cheese
  • RosΓ¨
  • Sparkling Water
  • Baguette
    • Meat & Cheese Board
      • Almonds
      • Cheese-two distinct varieties (we chose a cab soaked cheese and Manchego)
      • Quince Paste
      • Apricot Jam
      • Grapes
      • Spanish Meats

Roasted Veggie Couscous (derived from budget bytes)

INGREDIENTS

  • 1 large yellow squash 

  • 1 large zucchini 

  • 1 medium red onion 

  • 1/2 Eggplant

  • 1 bag of small bell peppers from Trader Joes 

  • 1 bag of San Marzano tomatoes from Trader Joes

  • 5 cloves fresh garlic 

  • 2 Tbsp olive oil 

  • to taste salt & pepper 

  • β…“ bunch fresh parsley 

  • 2 cups couscous 

  • 3 cups vegetable or chicken broth 

  • 1/4 lb marinated chicken cooked (I marinated mine in tumeric, honey, and olive oil)

  • 1 lemon wedge

INSTRUCTIONS

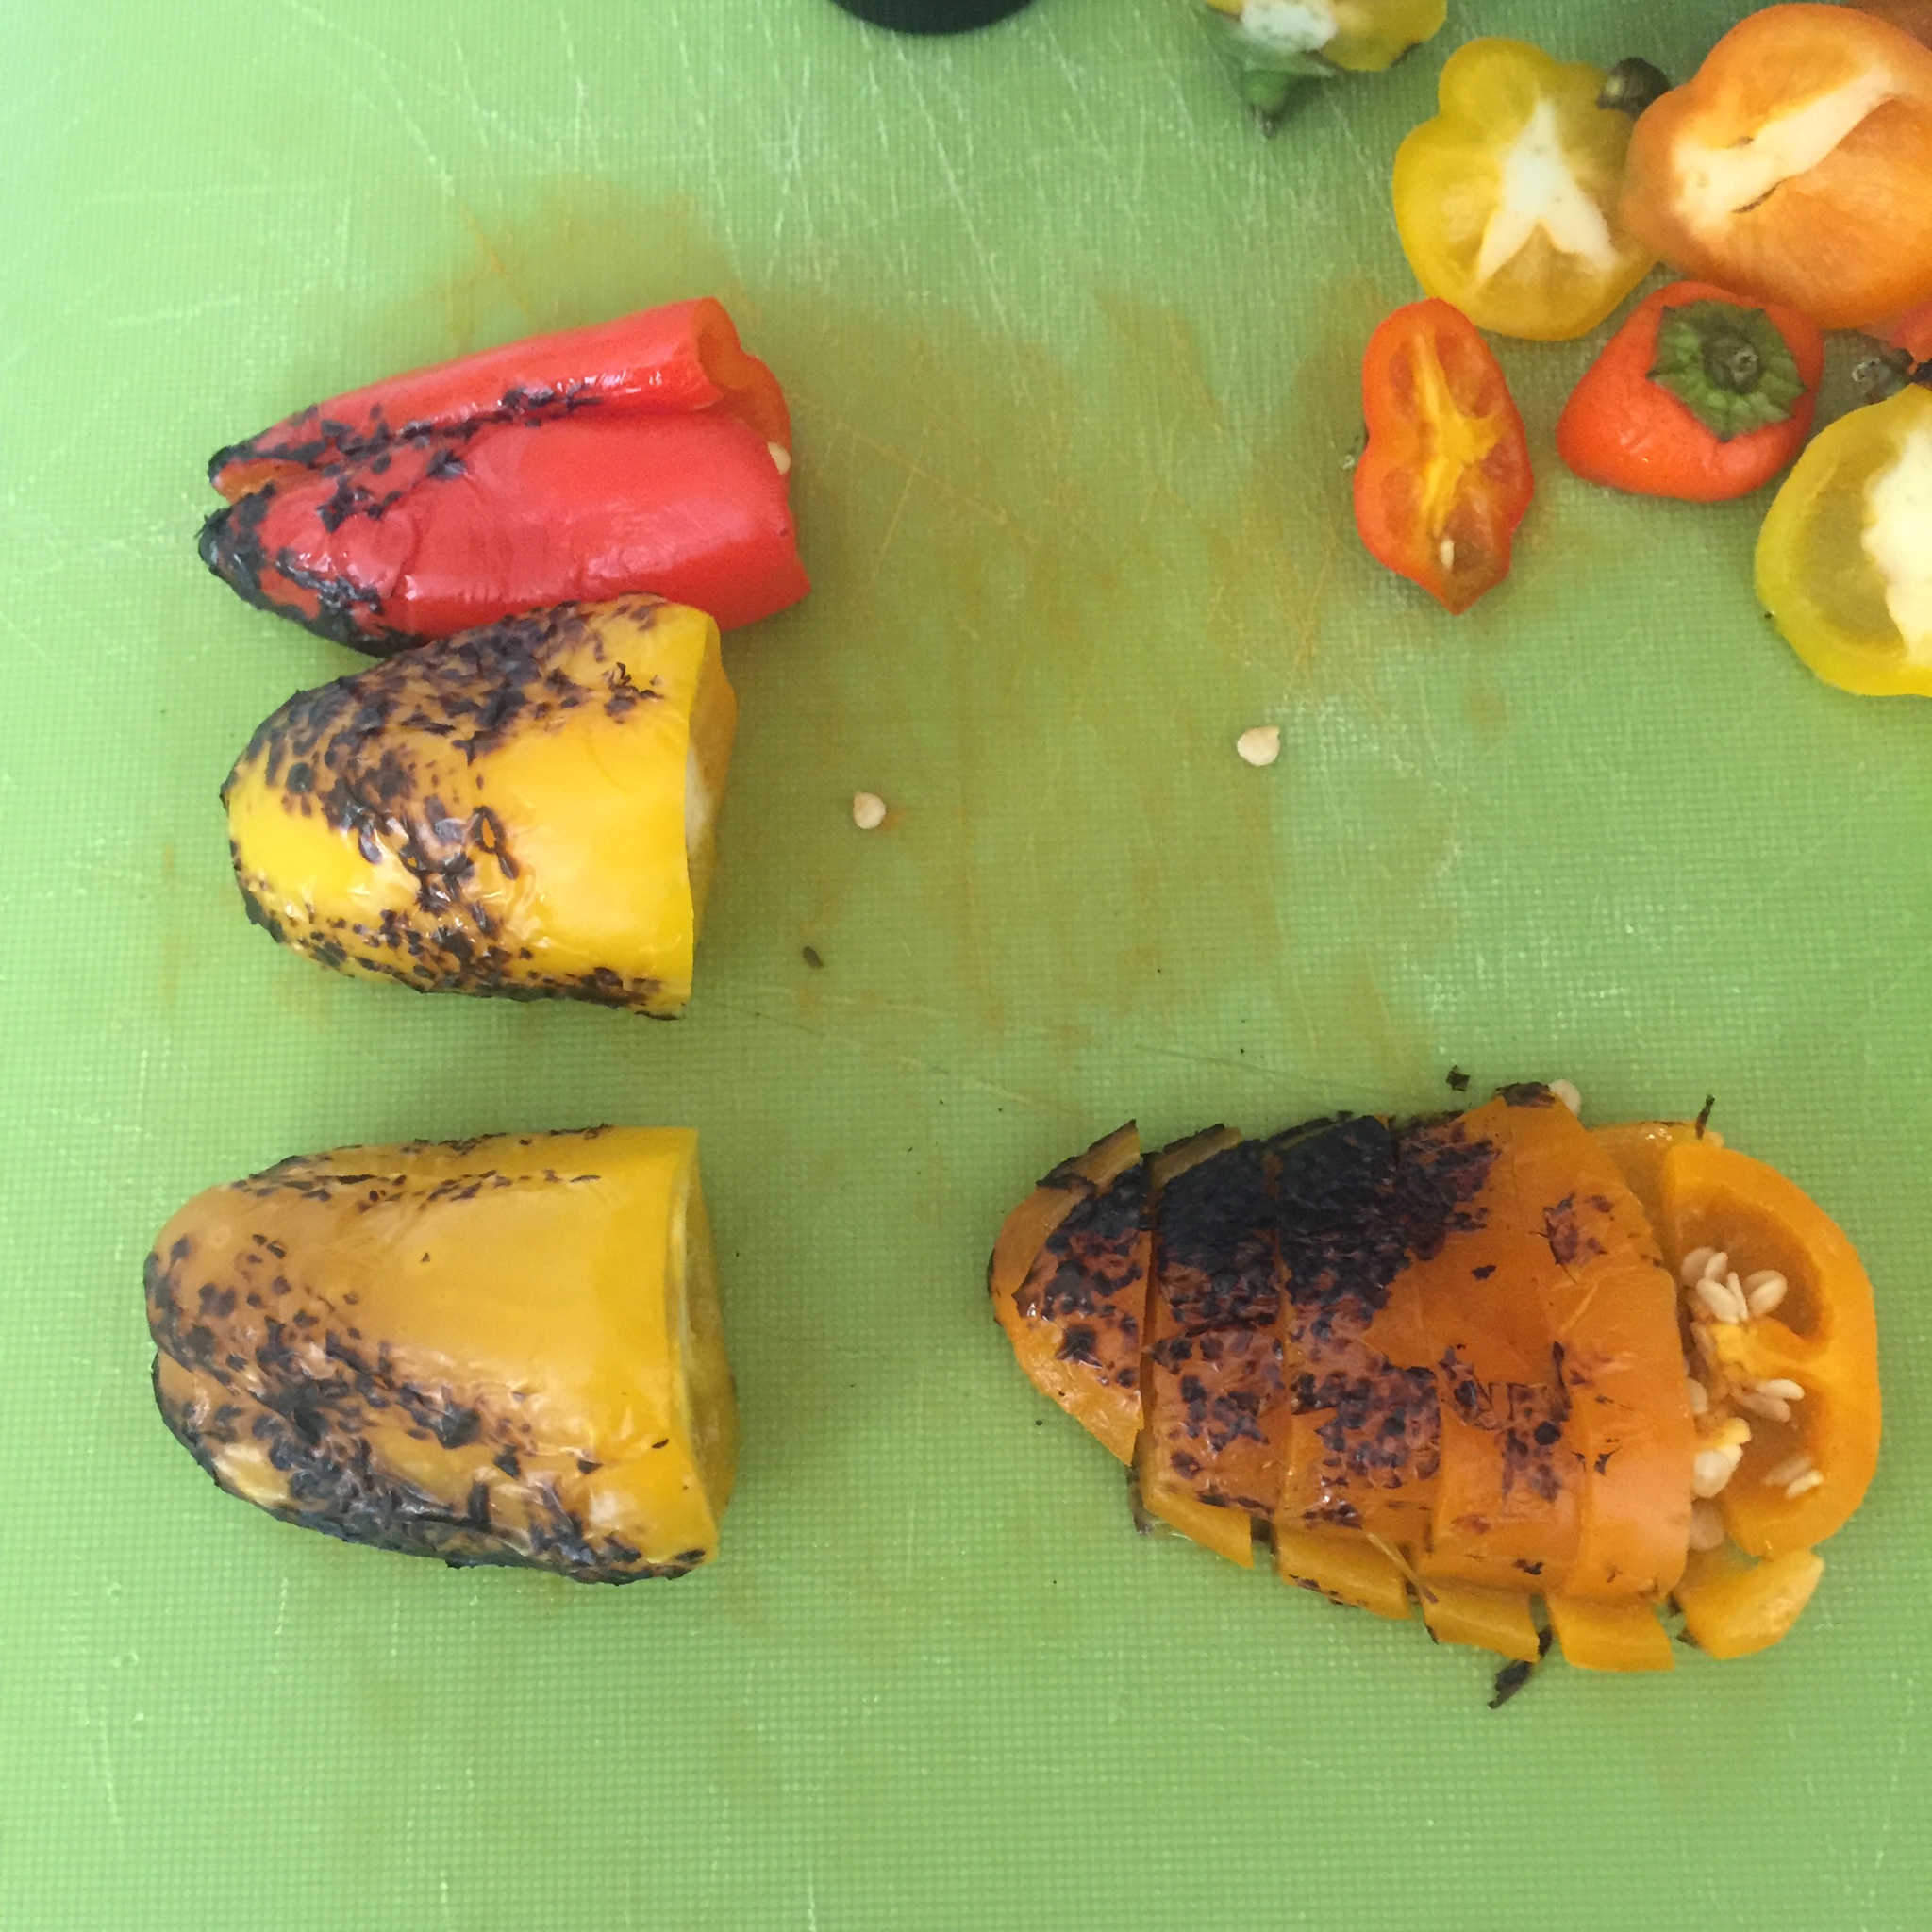
  1. Preheat the oven to 400 degrees. Wash and slice the vegetables into medium chunks ((bell peppers (I sliced mine in rings), squash, eggplant, onion). 

  2. Toss the chopped vegetables with 2 Tbsp of olive oil. Spread them out on a baking sheet (or two) so that they are in a single layer. Sprinkle generously with salt and pepper.

  3. Slice San Marzano Tomatoes in half (length wise) and place on a foil lined tray. Drizzle with olive oil and sprinkle with fresh thyme, sea salt and pepper.

  4. Place 5 garlic cloves in a bundle of tin foil and drizzle with olive oil, twisting the top to seal. Add to baking sheet for roasting.

  5. Place the vegetables in the oven and roast at 400 degrees for 45 minutes (tomatoes and whole garlic will only need 20-30 minutes to keep juicy but caramelized). If you have two baking sheets on two different racks in the oven, you’ll need to switch them half way through to ensure even cooking.

  6. While the vegetables are roasting, cook the couscous. Bring 3 cups of broth up to a boil (or 3 cups of water + 1 Tbsp bouillon). Once it reaches a rolling boil, pour in 2 cups of couscous, turn off the heat, and cover the pot with a lid. Let sit, undisturbed, for at least five minutes.

  7. After the vegetables are finished roasting, transfer them to a cutting board and roughly chop. Collect the five garlic cloves and chop in thirds. They are probably so soft that they’ll just smoosh, but that’s okay. You just want them to be able to distribute throughout the salad.

  8. Roughly chop about β…“ bunch of parsley. Fluff the couscous with a fork. Combine the couscous, roasted vegetables, and parsley in a bowl and stir to combine. Season with more lemon juice, salt and pepper if desired. Serve warm or cold! (excellent the second day)


Arugula Fruit Salad with Stilton Cheese 

INGREDIENTS

  • Two Nectarines

  • 4oz. Blue Berries

  • 2oz. Rainier Cherries

  • 1-2 Handfulls of Raw Almonds

  • Wild Arugula

  • Apricot Stilton Cheese

Citrus Vinaigrette

  • 5T Orange Muscat Champagne Vinegar
  • 2T Citrus Infused Olive Oil
  • 1/4-1/2tsp. Dijon Mustard
  • 1/8 tsp Sea Salt
  • 1/8 tsp Pepper
  • 1/2 tsp. Brown Sugar
  • (Tip make the night ahead for ingredients to mellow)

INSTRUCTIONS

  1. Slice Cherries in quarters and reserve in lemon water to keep from browning.

  2. Slice Nectarines in 1/4" wedges

  3. Combine and lightly fold in all ingredients (except stilton cheese) 

  4. Top with crumbled Stilton cheese (I used a fork to easily crumble the cold cheese on site)

  5. Combine vinaigrette ingredients in a glass bottle and shake until thoroughly blended. Refrigerate until needed.

  6. Drizzle with vinaigrette.

  7. Add pepper to taste

Posted on August 19, 2016 and filed under Beauty & Wellness, Style Tips.

The Espadrille Make Over: DIY Your Way to on Trend Shoes

The easiest way to change your wardrobe is by updating your shoes

If you follow us on Instagram, you'll know that a good portion of our posts are shoes.  This is no accident, one of the easiest ways to quickly update your wardrobe is by updating your shoes.  A smart pair of shoes reflect not only craftsmanship and quality, but also trend and a healthy dose of personality.  As a stylist, I love looking at my clients' shoe collections, it will tell me a lot about them and where we need to go in a quick glance.

The DIY Pom Pom Espadrille

So, as we enter into the last month of summer, we thought it would be fun to play with a trend that has been very popular this season: The Pom Pom Espadrille.  I've owned a pair of neutral espadrilles for a few years and purchased them knowing that they could be temporarily switched up with a little creativity. 

How to Update Your Look without Committing

I still really like my current espadrilles and want to go back to them in the future, so I devised a plan for a temporary change. Like any trend it will die off in a year or two and I don't want to commit to that. Below are directions on how to easily build your own. It took me about an hour to put everything together--but the result was worth it and the cost savings was substantial!

Stay Stylish,

K&M

What you will need:

  • Hollywood Fashion Tape
  • Scissors
  • Needle
  • Pins
  • Thread
  • Snaps (if you want to reuse your laces)
  • Laces/Cording (I used 1/2 yard per shoes, test how much you want to tie around your ankles)
  • 4 Pom Poms
  • Decorative Fringe Trim/Ribbon (I measured the base of my shoe and added 1/4 for fold over)
  • Plain Espadrilles of your choice (Soludos has a similar here)

Step 1

Step 2

Step 3&4

Voila! New shoes for the season

Step 1: Sew (or glue with hot glue) snaps on connection point between pom poms and laces. Take care to fold over the laces for a clean finish and insure the snaps are the right sides. (I left the cording on the pom poms to make them easier to attach)

Step 2: Hand stitch (or hot glue) Ribbon on fringe for decorative finish. Pin layers together for stability when sewing.

Step 3: Lace the new cording through the shoes and snap on pom poms

Step 4: Cut Hollywood tape into small sections and affix to edge of shoes, making sure you have tape at end points and center.

Step 5: Stick fringe/ribbon on top of tape and press down for several seconds.

You are done! Enjoy and check that tape is holding after each wear, update as needed.

Posted on August 2, 2016 and filed under Beauty & Wellness, Style Tips.